TUTORIAL: Analog TV-Style Motion Graphics With Kinemac + Final Cut
This tutorial came about because it's kind of hilarious how Google seems to be announcing all of its new, mainstream, consumer products with the same style of gritty, analog-TV-feedback 3-D graphics in its video ads: first the Droid, and now Vevo. Feels like the company is branding its multi-million dollar joint ventures as "applying a filter in After Effects and calling it a day."
Sorry. That wasn't meant to be a cheap shot. It's a cool effect, one that's achieved using Adobe After Effects, the industry standard software for most motion graphics. However, I don't own After Effects, I only have access to Final Cut Studio, as well as a 3-D graphics app called Kinemac that I bought for next to nothing during MacHeist 3. If you're a broke high school or college student with access to your school's copy of Final Cut Pro, this tutorial will show you how to make these kinds of graphics without breaking the bank. If you got Kinemac as part of MacHeist, that's great. If you want to buy it now, it costs $299, but that's still a lot cheaper than the $999 After Effects - and you get to support an independent developer in the process. Read along to learn how to make these graphics, or scroll down to watch the finished product!
----
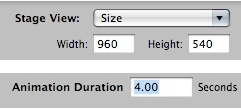
I'm going to be creating a video bumper for AppleMatters by following Google's format: a simple animation of a logo, fast-paced and less than five seconds long. First, I'll open Kinemac and adjust some settings: the size I want my video to be (in this case, 960 x 540, or half the resolution of 1080p) and its duration (4 seconds long).
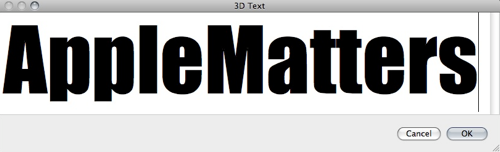
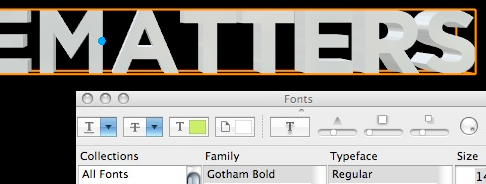
Next, I'm going to select the cube icon at the top of the window to create a 3-D object. I want to create some 3-D text, so I'm going to select the extruded "A" icon. Once I type in what I want to animate, I'm going to change the font to something a little less ugly than Impact (in this case, Gotham Bold).

You can choose whatever you'd like for the background. A solid color probably works best if you have no other alternatives. However, years ago I shot some DV footage of analog TV feedback for a previous video project:
It went unused and it's been lying around my harddrive for years, ostensibly for use in this project. So I dragged the footage into Kinemac from the Finder for use as my background movie:

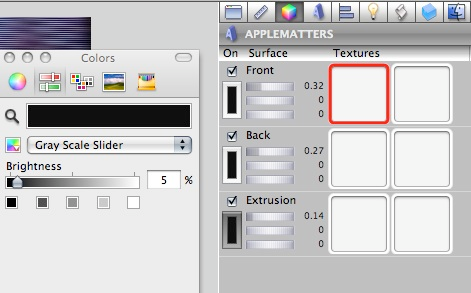
After that, you should probably select your 3-D text and switch to the Textures tab on the right (represented by a rainbow-colored cube icon) to change the color of the text to your liking. (You can also drag an image into those empty boxes to be mapped onto the text as a 2D texture.)
Now it's time to animate. If you've ever animated anything in Flash, you've got a good idea of how Kinemac's keyframes work. For those unacquainted with the idea, here's how animation works in Kinemac: you select a specific object in the timeline (which is running across the bottom third of the window) and position it in different places on two different keyframes. Kinemac will automatically create the in-between frames to smoothly animate the object transitioning between the two positions specified by the keyframes.
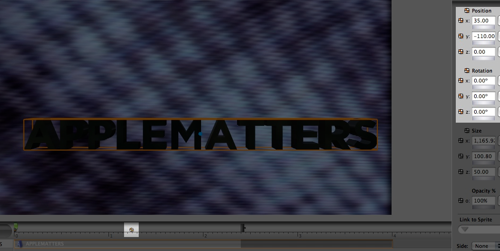
You create a keyframe in Kinemac by pressing Cmd + K, so place the playhead about a second and a half into the timeline, create a keyframe and, in the Geometry tab on the right (represented by a ruler icon), specify where and how you want the text to move:
Add a few more keyframes (my finished animation has 6 in total) and play around a little bit. In particular, adjusting the z-position, otherwise known as the text's distance from the camera, is going to help make your animation more dramatic as the text speeds towards and away from the viewer.
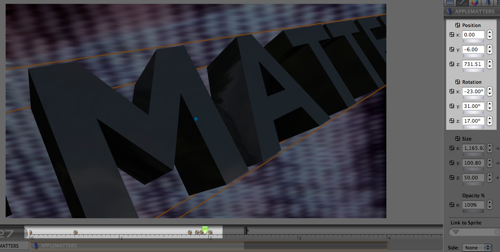
Here's what I came up with after this process:
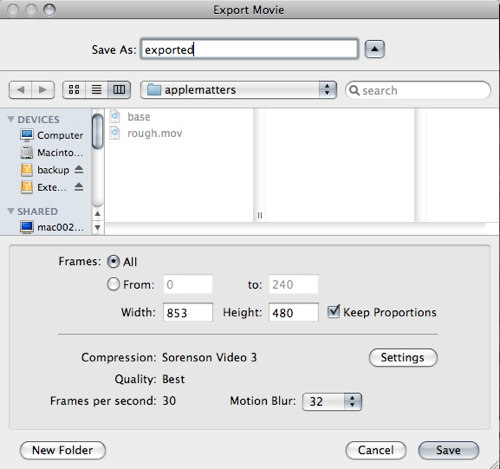
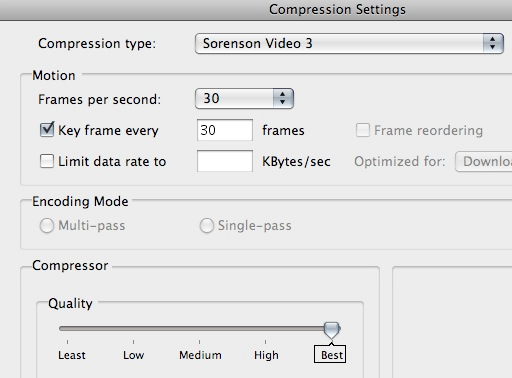
If you're happy with what you have, it's time to export your video, so select "File --> Export Movie". Make sure your video's being published at the dimensions you want - and press the "Settings" button to crank the export quality up to "Best". Once we're done, you can export the finished product with whatever compression you want, but it's important to to have as clean a source video as possible for FCP to work with so as not to suffer gratuitous loss of image fidelity. Finally, make sure to change the motion blur setting to 32 or higher.
Here's what I got once I exported. Notice the significantly improved animation over the previous iteration, thanks to the motion blur:
Once you're done with that, drag the exported file into Final Cut and apply the "Bad TV" filter (hidden under "Stylize"), so you can properly distort the letters as well as the background:
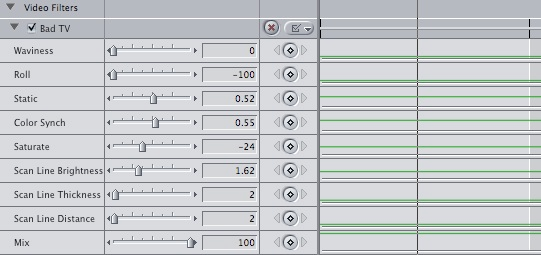
Above are the settings I used. I wanted to distort the image as little as possible, so I turned off the waviness and the roll. If you have Final Cut Pro (as opposed to Final Cut Express), you can animate all these attributes using keyframes and customize the faux-analog glitches to your heart's content.
After doing some minor color correction, I exported from Final Cut and came up with a finished product:
From initial idea to final movie, this took all of ten minutes to create (not including export time). I'm excited to see what you guys - and I - could do given an hour or two to really fine-tune the graphics. Post your creations and feedback in the comments!
 del.icio.us
 Digg
Digg Facebook
 Slashdot
 StumbleUpon

Comments
It’s easy to use Kinemac. Just drag your images, text, movies and songs onto the Kinemac stage to get them into your animation. On the surfaces of any object you can apply image textures and movie textures, and set various attributes as color, transparency, reflection, specular and shininess affects. -Tire Works